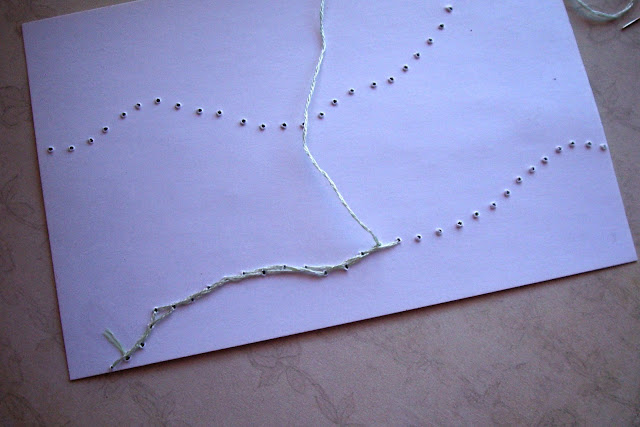
I usually start with a card that has some paper cut outs on it. They are glued in place. This example has a bunch of scraps of card stuck down in a wavy pattern.
I then use a paper piercer to make the holes I am going to stitch through. The space between the holes is how big your stitch will be. Mine are about 1/4 of an inch apart but they can be closer if you want small stitches. If you don't have a paper piercer you could use the point of a compass or a large pointy needle. You don't want the holes to be too thick or they will stand out alot in the finished design.
If I am doing a design (like the word stitch in this card) I will use pencil to write or draw the design and pierce the holes along the pencil lines. It helps me get straight lines.
I use two strands of embroidery thread to make it a little thicker but you can use whatever you like. I start by gluing the thread to the card on the back so I don't have knots.
I come through the 2nd hole on the front of the card, then take the needle through the first hole to the back.
Then I come up through hole number 3 to the front again.
Next go back through the previous hole,
and come up through the next hole. Continue stitching in this way, up one hole in front and then back a stitch.
This is what the back of your card will look like. It has two lots of thread.
It doesn't take very long to get a lot of stitching done. When I get to the end I take the thread to the back of the card and glue the end down. When the glue is dry I cut off the extra thread. You can experiment with different types of thread and how many strands you use. Try it on scrap card first but then have some fun stitching.


No comments:
Post a Comment