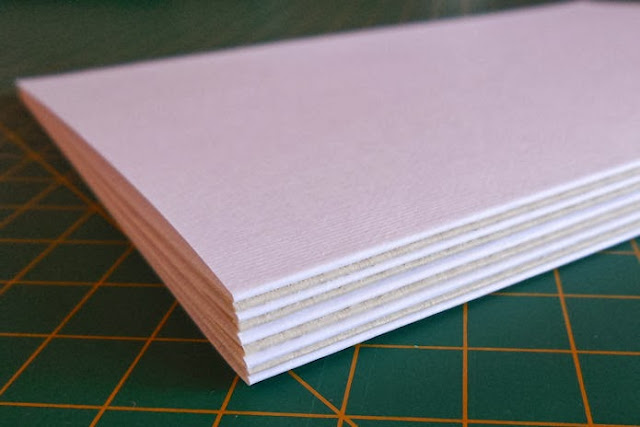
I started by gathering my supplies. I am using a pad of artist paper for the book pages but you can use what ever paper you like. If you use scrapbooking card you could turn it into a mini album. I also found these plastic book covers at my local art store. I think they are for a binding machine but I am going to use them for my covers. You don't have to use the same. Card or chipboard covered with paper or fabric also make great covers. I am using coloured duct tape to hold the book together. I have white to use on the pages inside and the colours for the cover. You can use any strong tape, duct or masking but it must be strong or your book will fall apart. Don't be tempted to use washi tape as it is not sticky enough.
I used a score board to fold all the paper in half to the finished size of the book. I cut the covers to to the same size as the pages.
Next I put the white tape onto the cutting mat and trimmed it to the size I needed. My tape was quite wide so I cut it in half lengthwise then cut it a little longer than the height of the pages.
I lay two pages back to back so the folded edges are touching and put the tape down the middle to hold them together. I trimmed the excess tape off as I go. I then add another page the same way until all of the pages are taped together. There is a close up below.
When I have a few pages joined together it is easier to put the tape onto the stack of pages and turn it over so the tape is down on the mat. Then you can just add the next page on top of the tape.
When you have your stack of pages it will look like this. You can see the tape inbetween the pages. I don't press it hard together because I want a little of that tape showing when I put the spine on. It helps to hold it together later.
I add the covers the same way. For my cover I used the pink tape. This will be inside the book when you open the first page. I decided to use one green and one pink cover on each journal.
The book is almost complete now.
For the spine of the book I place a length of the decorative duct tape onto my cutting mat. I folded under the ends to hold it still when I carefully put the book down onto it. The tape sticks to the pages and also that little bit of duct tape we have between them. You know how well that tape sticks to itself, there is little chance of it ever coming apart. If you have a lot of pages you could add two overlapping strips of tape for the spine.
Fold the tape onto the bookcovers and trim off the ends. Your book is done. How easy is that?
My inside book cover has the pink tape for a feature. Every second page has no tape so you can work on a double page spread. This flexible spine means you can open the book up fully. The covers I used are transparent so the first page will be visible later on.
Enjoy this easy method of book making. I used it for small journals but the options are endless. You can add as many pages as you need. This will be the last book I make for a while. I need to start using all the ones I already have.


Very nice, I can't wait to try this idea!
ReplyDeleteThanks Jackie. I hope you love your new journal.
Delete