I am using DMC flower thread for this project but you can use any thread you like. I put glue onto the end of the thread and push it into the spine so the end will be hidden. Let it dry then take the thread through the first hole to begin stitching.
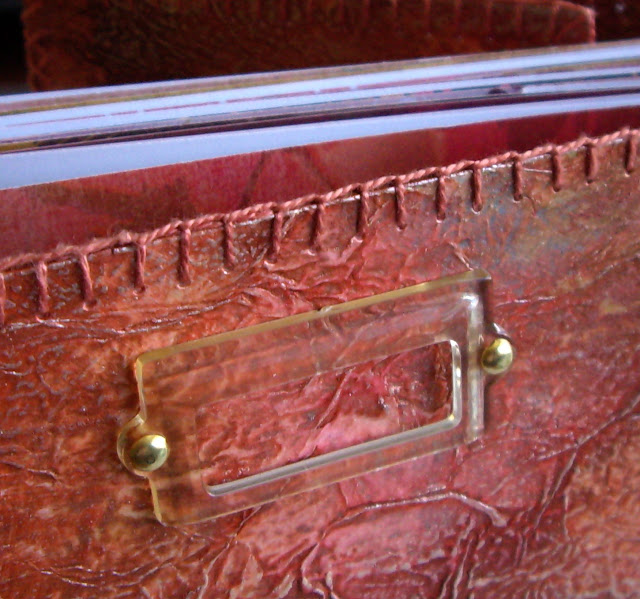
I used blanket stitch around the edge. Just go though the hole making sure the thread is behind the needle. When you pull it up tight the blanket stitch is formed. Continue around outside until you reach the corner.
In the corners I add an extra stitch to hold the thread around the outside neatly. You may have to make your corner hole a little larger with the awl if you can't get three lots of thread through easily.
On this Life Book page I used straight stitch to hold the pages together. It is done the same way, starting with holes poked through the stiff paper with an awl then a straight up and down stitch was used. Every 6 stitches I made a cross stitch by taking the thread around the outside to hold the pages together very strongly.
When you need to add more thread you can't do it like you would on fabric because the knots would show. I usually end my thread by stitching under the previous stitches and adding a little glue to the end to hold it in place. I started the new thread here by gluing it to the edge of the book. When it dries I can continue stitching, covering the end so it is barely visible.
This photo shows the end covered with the new stitches. It is hard to spot where the join is.
Next to the spine on the front cover I added a decorative row of cross stitches. I went up the cover in one direction and then came back down with the stitch going in the opposite direction to make the crosses. It helps to hold the book tape in place, in case the glue ever fails. When I reached the bottom again I continued the stitching around the outside of the cover.
Next is the very important stitching that helps to hold the flap on. At the moment it is only held in place with the soft tissue tape. The diagram above shows how I start with a slight gap between the two pages you want to join. I come up through hole number one and down again at hole 2, then up at 3 and down again at 4. Continue in this manner until you reach the end.
When you get to the end come back along the line in the same way as before starting at 11 and continuing back to the end of the row.
Now come up at 21 and take your thread down at 22, then up at 23 and so on. You are starting to make the crosses now.
When you come back down the row of stitching for the last time you will have made a very strong hinge along the flap. You can take the thread to the edge of the cover and continue the stitching around the outside.
For this flap I added extra crosses for decoration but they are not necessary.
In this example from the Life Book page I added an extra line of holes to make the diamonds or crosses when the flap was closed.
The little book is now complete. I will use it for a photo album. That is why I wanted a gap between each page when I sewed them in. As I add photos and decorations the pages will become quite thick.
You can see the back flap tucked inside in this photo.
I am very happy with the way this little book has turned out and will probably make more this way. I think I will try using watercolour paper next time so it can be an art journal.


No comments:
Post a Comment